Showing posts with label Fuselage. Show all posts

Flaperon priming

14NOV2025
     
I finally finished priming all the flaperon parts.
  
I still need to prime the vertical stabilizer, but I may need to wait till next year, as we likely will not have any more warm days the rest of the year.


Build Time:  3 hours 45 minutes
Read More

Flaperon priming & Fuselage Riveting

06-08 NOV2025
     
I primed all the internal flaperon parts; I still have to prime the skins.
  
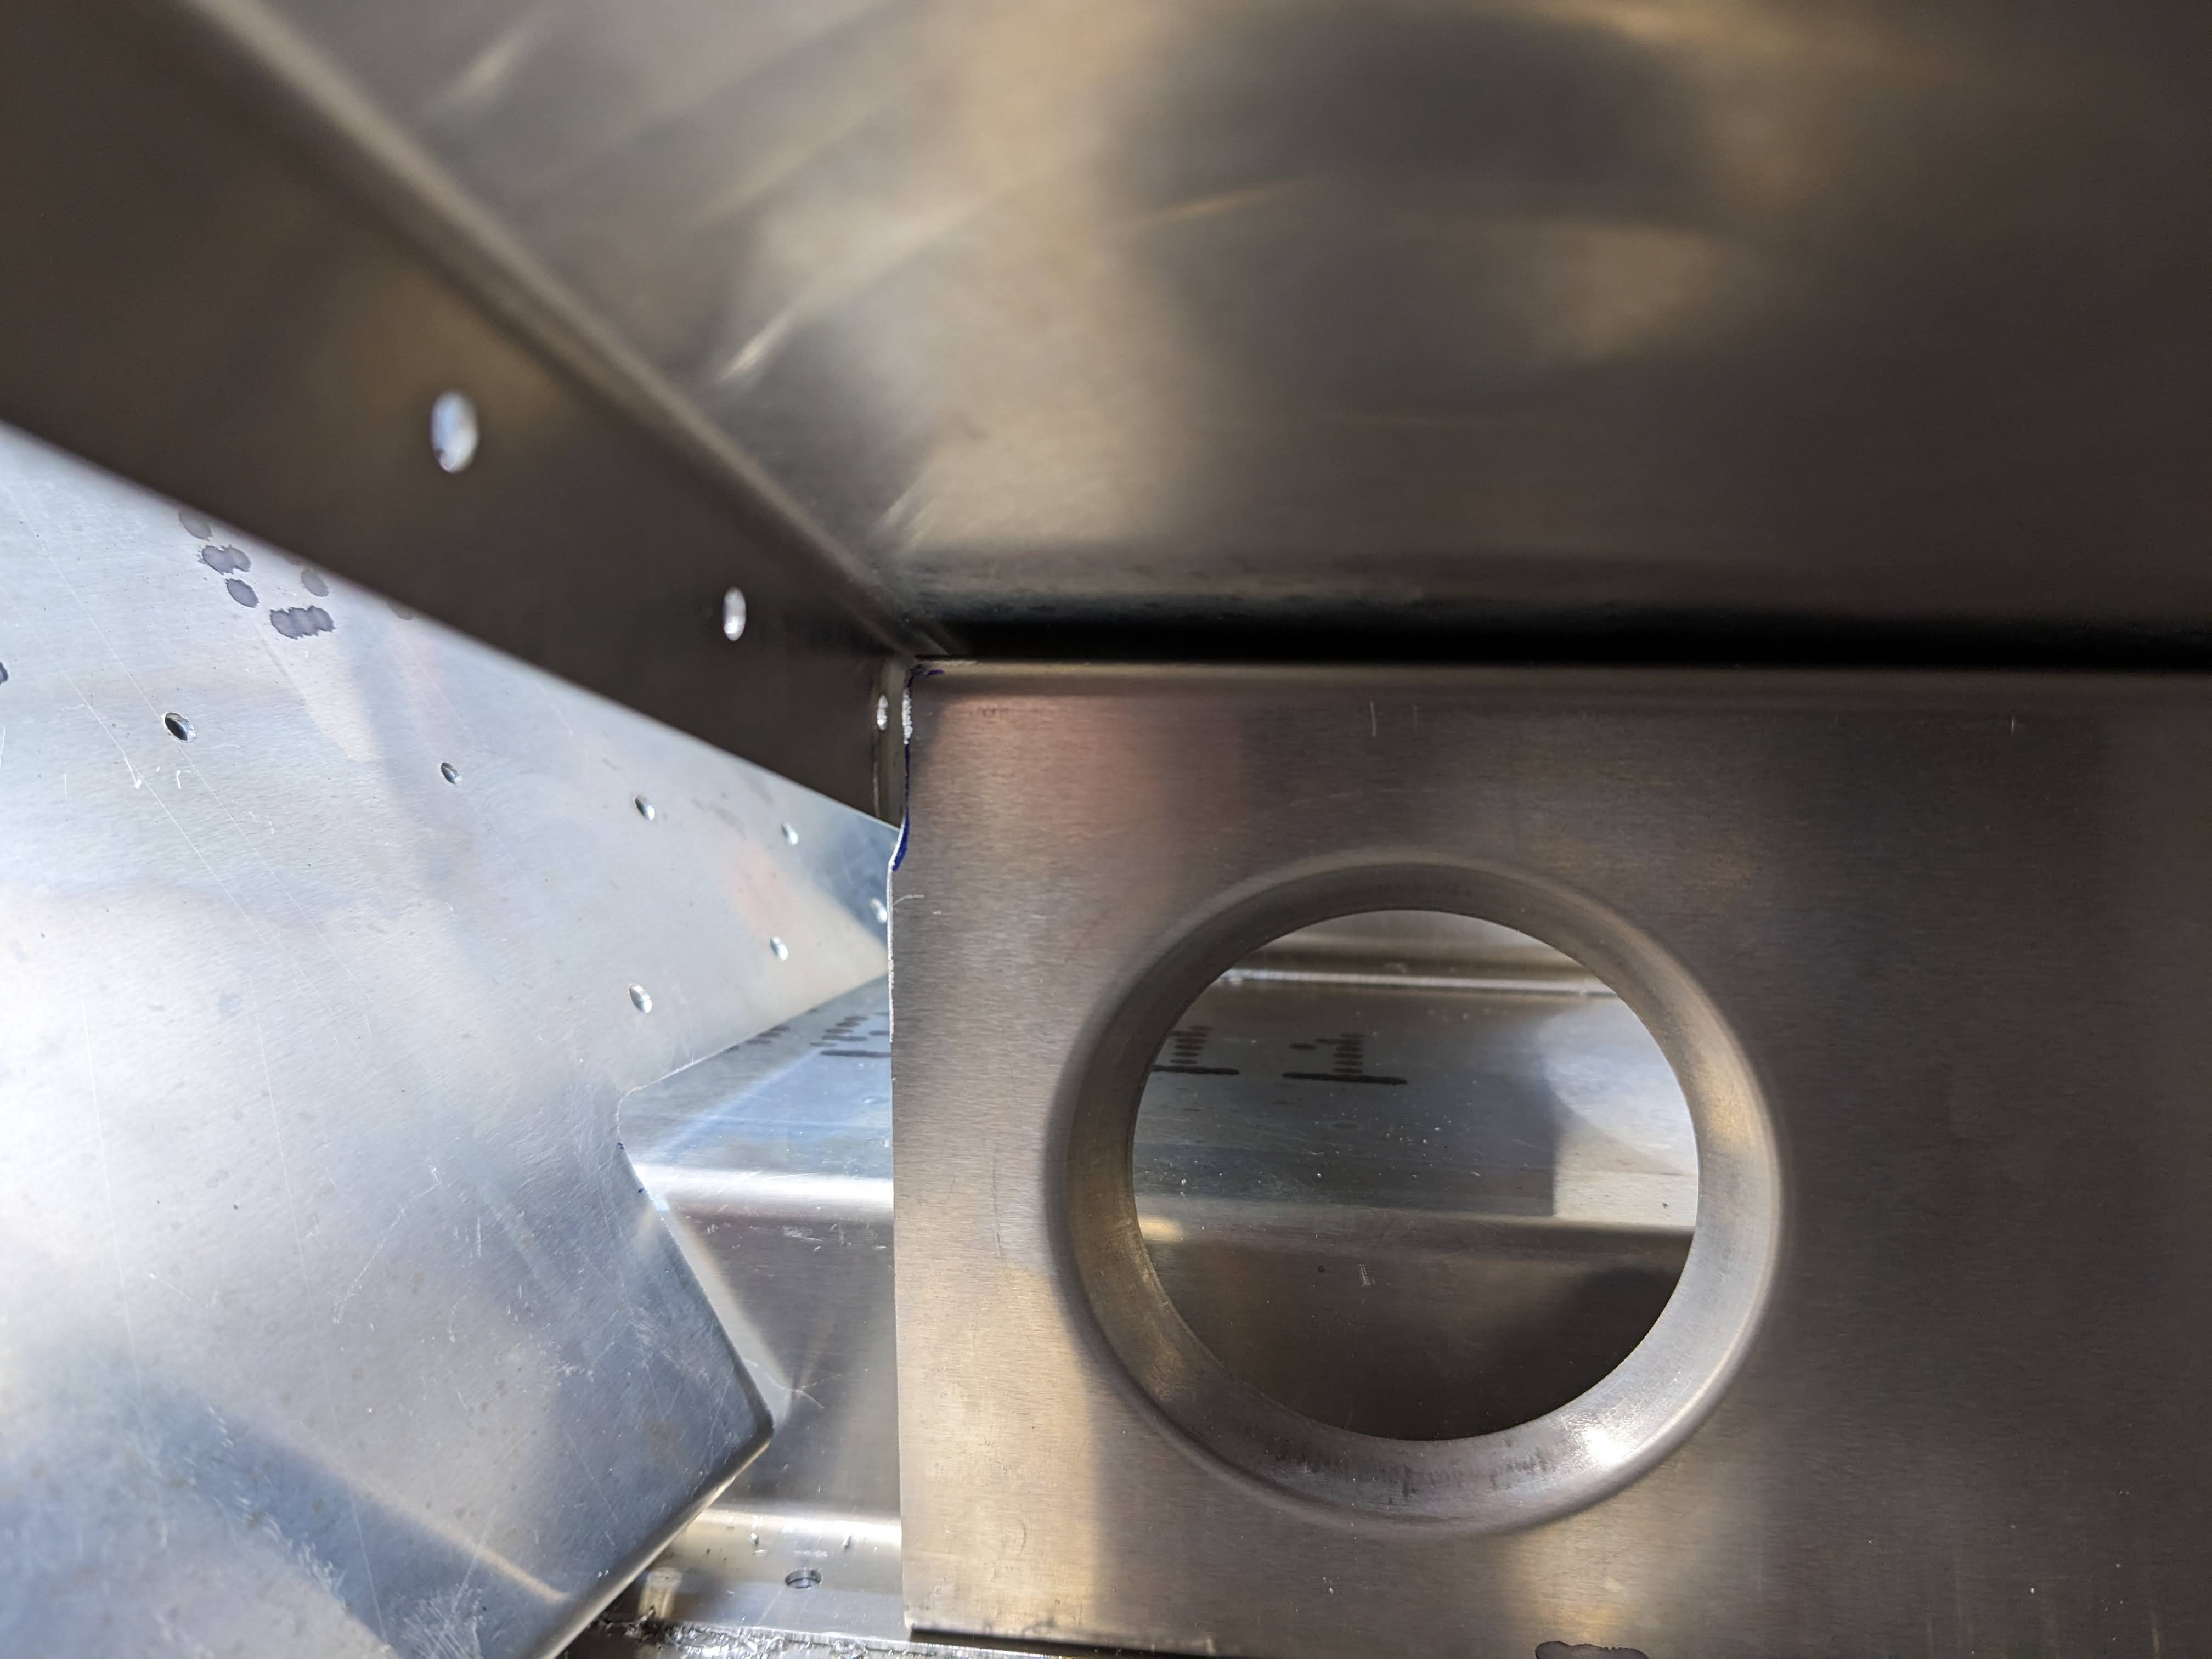
I also pulled a few rivets in the forward fuselage -- got the gear brackets riveted in and the l-angles for the seat supports.
  
Flaperon parts primed


Gear bracket riveted


Seat support front l-angle riveted


Seat support rear l-angle riveted


Build Time:  9 hours 15 minutes
Read More

Forward Fuselage - Reassembly, cont. (back on wheels)

30SEP & 03OCT2025
     
I got the Cruzer back on wheels just in time for the airport open house. 


Build Time:  15 hours
Read More

Fuselage - Reassembly, cont.

27-28 SEP2025
     
I'm slowly getting the forward fuselage put back together.  I was able to pull a few rivets today, so the front is now officially attached to the rear!


Build Time:  7 hours, 30 minutes
Read More

Fuselage - Reassembly

07 & 13 SEP2025
     
My tires were leaking, so I added some RTV under the center o-ring.
  
I also started reassembling the forward fuselage.


Build Time:  4 hours
Read More

Fuselage - priming, cont.

25 & 30 AUG2025
     
I finished spraying primer on the last of the forward fuselage parts.  Should be able to start putting it back together soon.
  
(sorry, no pictures)


Build Time:  8 hours 45 minutes
Read More

Fuselage - Priming, cont.

16-17 AUG2025
     
I continued spraying primer on the forward fuselage parts.
  
(sorry, no pictures)


Build Time:  6 hours 30 minutes
Read More

Fuselage - Priming, cont.

01, 02, 04 JUL2025
     
I had a few hours available last week, so I continued spraying primer on the forward fuselage parts.
  
(sorry, no pictures)


Build Time:  5 hours 30 minutes
Read More

Fuselage - Sanding & Priming

26 - 28 APR 2025
     
I spent the weekend working on cleaning, scuffing, and sanding most of the forward fuselage parts.  I have a few skins left to do.
  
I only got a few parts primed on Monday (28 Apr).  It started to get too windy and grass and dirt were blowing all over the parts and sticking in the primer.


Parts sanded and ready for primer


Build Time:  10 hours 30 minutes
Read More

Fuselage - Sanding

23NOV2024
     
On Nov. 23rd, I started to wash a few parts but ran out of water at the hangar, so I only got through a few.
  
15DEC2024
     
Had about an hour free today to continue washing/sanding parts.  This is the least exciting part of the build, lol. 


Build Time:  1 hour 45 minutes


Read More

Fuselage - Deburring, cont.

03NOV2024
     
Spent a few more hours deburring today.


Build Time:  3 hours 15minutes
Read More

Fuselage - Deburring

26-27OCT2024
     
This weekend, I spent a few hours starting to debur the forward fuselage parts.  
  
So many parts to debur....


Build Time:  4 hours 30 minutes
Read More

Fuselage - Disassemble & Deburring

20OCT2024
     
I disassembled the forward fuselage and started to debur some parts.  There are so many parts, I'll be deburring for a few days, lol.


Build Time:  3 hours
Read More

Fuselage - Moved Out of the Loft

21-22SEP2024
     
We got the fuselage moved out of the loft and downstairs. 
  
I thought about starting to prime some parts, but it was too hot on Saturday and too humid on Sunday to prime.  I also wanted to have it reassembled for the airport's open house in a couple of weeks.


First time sitting in it!


Read More

Forward Fuselage - Disassemble

15SEP2024
     
I bolted the wheels onto the main gear and torqued down the axle nut.  
  
Then I spent a couple hours disassembling the forward fuselage.  The front half needs to come off to get the fuselage out of the loft.  Hopefully, we can get the fuselage out of the loft next weekend and I can start priming.  


Build Time:  2 hours
Read More

Forward Fuselage - Arm Rest

18AUG2024
  
I clecoed the right seat supports, seat pan, and armrest side back in to match drill the undrilled rear seat belt attachment.  Then I clecoed in the left seat supports, seat pan, and armrest side, and added the armrest top.
  
I started working on the nose gear but realized I had pulled the rivets on the front l-angle on the u-shaped bracket from the bottom side instead of the top.  I drilled those out and put new rivets in.  I had to grind down the nose on the rivet hand puller to fit properly against the l-angle.
  
I'm also putting the STOL nose gear on my Cruzer and realized I do not have the drawings for the STOL version. 
  
Seat Pans and Arm Rest installed


Corrected rivets on u-shaped bracket (pulled from the top)


Build Time:  3 hours
Read More

Forward Fuselage - Left Seat Installed

10-11AUG2024
     
Made great progress on the left seat this weekend.
  
I finished fixing the rear seat support l-angle I messed up last time.  I made a wider angle so the holes would not be on the edge.  I also cut and drilled all the l-angles for the front support.
  
I drilled the holes for the slide bolts and the rear nutplates.  Once the rear bolts were in, I drilled the holes for the forward bolts.  This went way better than the right seat and I didn't have to file any holes open.  I did need to retap the welded-in nuts on the top portion of the slides like I did on the right seat.
  
I also received undrilled rear seat belt brackets from Zenith since the other ones I previously received did not line up correctly.  I matched drilled the holes into this new undrilled bracket.  The holes are off-center a bit, but they're not too close to the edges so I think it's ok.

Then I started disassembling and drilling holes to final size.
  

Left Seat Installed


Fixed rear support l-angle (custom wider angle)


Front support l-angles


Front support l-angles


Front support l-angles


Lower Seat Belt Attachment

Rear Seat Belt Bracket - undrilled part match drilled to arm rest side


Left Seat Installed


Build Time:  7 hours 15 minutes
Read More

Forward Fuselage - Left Seat Started

14JUL2024
     
I started on the left seat today but didn't get too far.
  
I made spacers for the rear support like I did on the right seat.  I also trimmed out the inboard top corner of the rear support because it was interfering with the seat base.
  
I started on the l-angle for the rear support, but I messed it up (I guess the heat was getting to me and I wasn't thinking).  When I was match drilling the l-angle to the arm rest side, I didn't have the rear support fully clecoed in which caused it to sit forward a bit.  I clecoed it in and traced the holes from the arm rest side onto the l-angle.  The holes are too close to the edge, so I can't salvage this piece.  I'll be making a new l-angle next time.
  
Left Seat Rear Support Spacer


Left Seat Rear Support - inboard top corner trimmed


Messed up rear support l-angle


Build Time:  3 hours 30 minutes
Read More

Forward Fuselage - Right Seat Installed

13JUL2024
     
I drilled the holes for the slides before test-fitting the slides, so the holes were off a bit.  I installed the two aft nutplates and then I had to file open the forward holes into slight slots.  I plan on putting lock nuts on the front two bolts instead of using nutplates.
  
I also installed the seat back onto the seat pan.  The threaded nuts welded on the slides were a little gummed up, so I tapped those and then installed the seat to see how it fit.  Looks awesome with a seat finally in it!
  
I also installed the lower seat belt attachment.
  
I did receive replacement parts for the inboard seatbelt attachments, however, these also don't line up, so I'm reaching back out to Zenith.
  
Then I disassembled the right side and started to prep for the left seat.
  
Right Seat installed


Right Seat Slides


Right Seat Lower Seat Belt Attachment


New Inboard Seat Belt Attachment


Holes from New Seat Belt Attachment traced onto Arm Rest Side


Right Seat


Build Time:  4 hours 45 minutes


Read More

Forward Fuselage - Right Seat Supports, cont.

06-07JUL2024
     
I finished drilling the rear support l-angle.  I notched out the upper corner to avoid the flange from the seat base.
  
Then I moved on to the front support.  I put the top l-angle on the back side of the support and utilized the pre-drilled holes in the cabin side and I put the bottom l-angle on the front side of the support because there was more room for an angle piece.  Then I marked the center line on the top flange and measured the distance from the front edge of the center support.  I used some tape to hold the other end at the same distance (to keep it from twisting).  Then I put the seat base back on, marked this distance, and laid out the rivet and bolt locations.  Then I made the other l-angle for the front support.
  
I also notched out the seat base angle to clear the radius from the seat base hole.  Then I started to open the holes up to final size.  My air angle drill seized up, so I didn't get everything drilled to final size (a new drill is on order).
  
I was going to cleco in the inboard seat belt attachment, but the holes in it are not lining up with the holes in the arm rest side.  I have an email out to Zenith about this.
  
I also test fit the seat slides.
  

Rear Support L-angle


Front Support Bottom L-angle


Front Support Top L-angle


Tape holding the front support in place (prevent twisting)


Front support rivet & bolt locations laid out


Seat Base Angle trimmed around Seat Base hole


Right Inboard Seat Belt Attachment


Holes from Seat Belt Attachment traced onto Arm Rest Side


Seat Slides Test Fit


Build Time:  8 hours
Read More