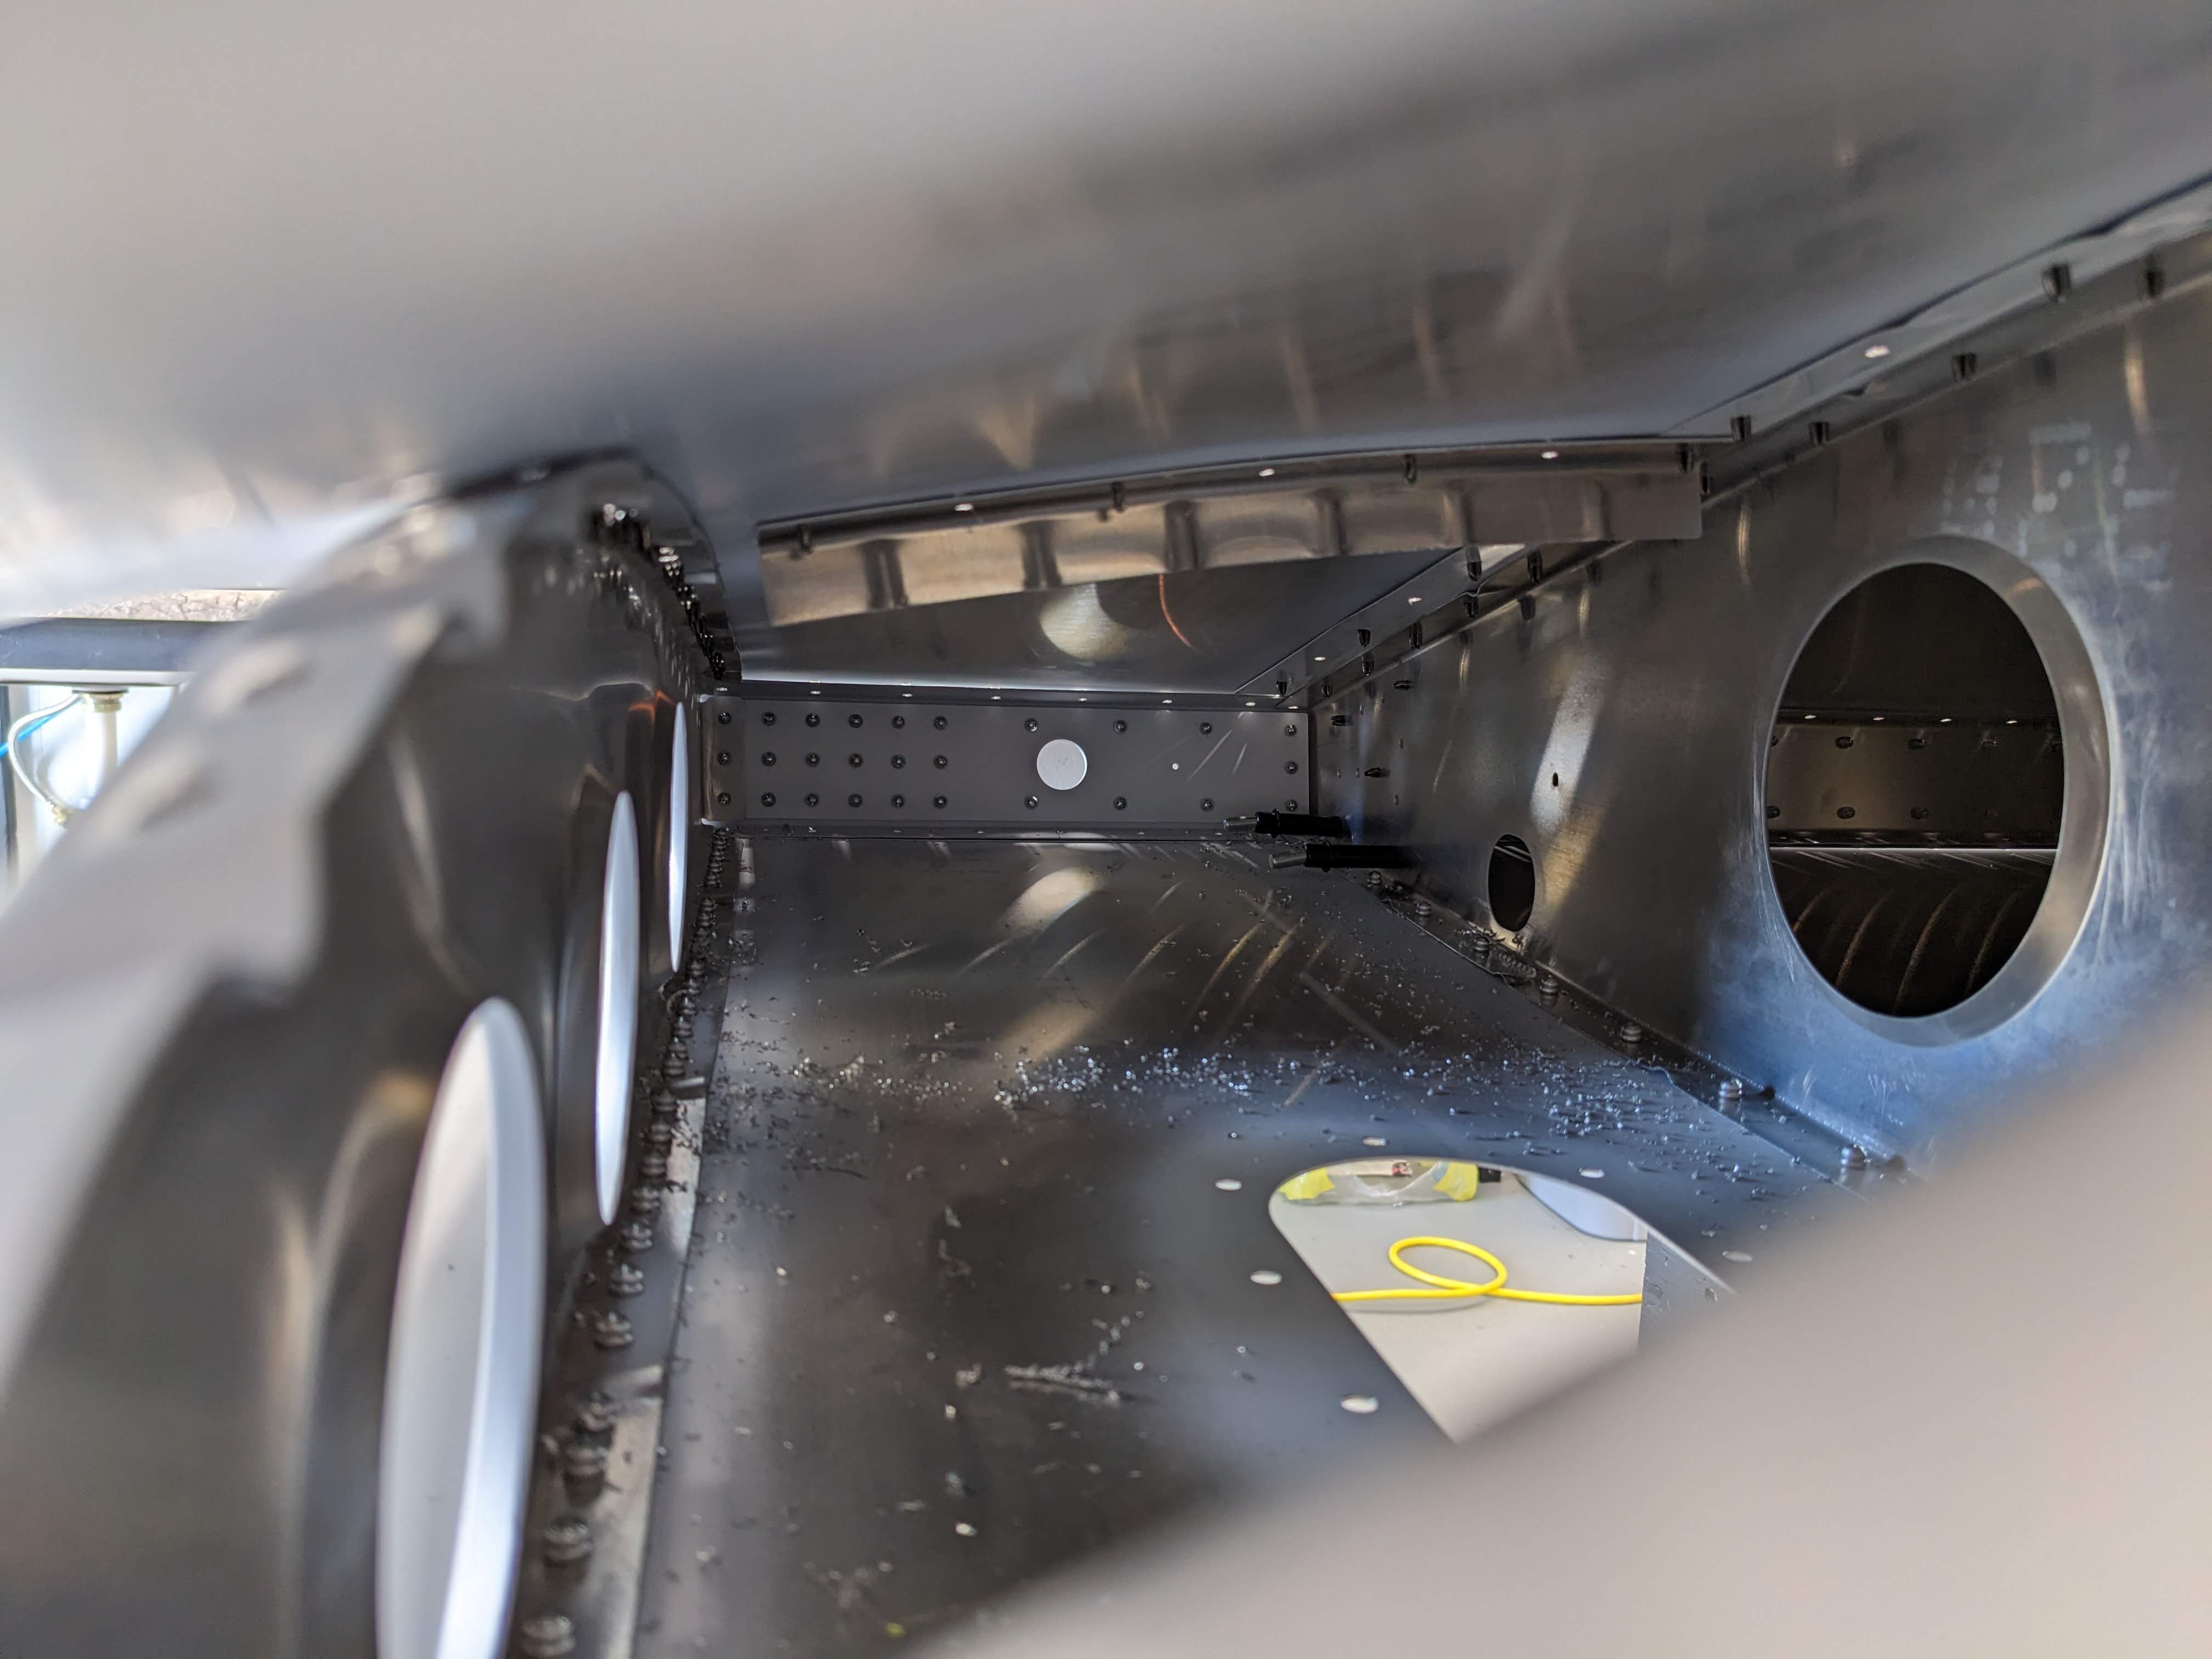
Today, Tom was nice enough to finish building the wing wall hanger. We moved the right wing from the stand to the wall and then used the stand to hoist the left wing out of the loft.
This weekend, I spent a lot of time working on my landing light bezel idea. I was struggling with getting the lens to fit correctly and be installable from the front. So I decided to make a bezel that the lens would attach to and the 'lens + bezel' would be one assembly that could come off when needed.
Tom 3D printed some dies for the press so that I could press a bend into the aluminum bezel. We weren't quite sure how the aluminum would spring back or the exact angle that was needed, so he made the dies match the radius of the nose skin as specified on the drawing (35mm). This ended up being too big of a radius and the aluminum sprung back quite a bit, but it provided a good starting point. I then pressed the bezel around a 1.25 inch pipe and bent it by hand until I got it to match the curve of the nose.
I drilled the holes needed to attach the bezel to the skin and backing strips; I went with 5 screws on top and bottom (final hole size #16). I decided to use nutplates on the backing strips, so I drilled those rivet holes too. I was planning on dimpling the nutplates and backing strips and using flush rivets, but the mini nutplates I bought didn't fit in the dimple dies (didn't think about that when I bought everything, lol). So I ground down a side on the bottom dimple die and that helped. It still didn't get them quite right, but it's close enough and I think it will be fine for this application.
I trimmed the lens down to be the same size as the cutout in the wing (the bezel overlaps the lens by 0.25 inches). Then I used double-sided tape to hold the lens to the bezel. I also used double-sided tape to hold the backing strips to the inside of the skins.
This is my first modification from the plans and I am happy with how it turned out.
Scroll down for the end results!
3D Printed Dies for the press (radius 35mm)
Mini Nutplate doesn't fit in the dimple die
Ground down dimple die
Mini Nutplate fits a little better in the ground-down die
Backing strips - nutplates riveted with flush rivets
I was really struggling with figuring out how to get the landing light lens to fit and be installable from the front, so I came up with a different idea that I started working on today. I'm going to make a bezel that the lens will attach too and then screw the bezel to the skin, this way the lens/bezel will be one assembly that can come off if needed.
Tom used his plasma table to cut out the bezel, which was way faster than me trying to cut it out by hand, lol. I also took the heat gun to the lens to warm it up and reshape it to the wing for a better fit. Tom is going to 3D print dies for the press to see if we can press the bend into the light bezel.
I had a couple of hours free today, so I started reassembling the top skins. I got the flaperon arms riveted and the nose skins are ready to be riveted.
Deburring is the most tedious part, but I finally finished deburring the top skins, ribs, spar, and l-angles today. Next week I can start to reassemble and hopefully pull a few rivets.
I disassembled the top skins and started deburring the ribs, skins, l-angles, and rear channels.
When I un-clecoed the nose skin, I found that a nose rib had gotten messed up. The inboard rib that has the angle piece on it must have moved too much when I fitted the angle piece and tried to match drill it. Now the nose rib has two holes in some tabs, making slots. Bummer, that will need to be replaced.
I finished trimming the landing light hole; I think it turned out good.
I riveted the nutplates and the ribs to the main bracket. Then I drilled the holes in the skin for the bracket and ribs. Drilling through the skins for stuff like this always make me nervous, lol.
I started looking at the lens, but decided I would spend more time on that next weekend.
Spent a little bit of time today trimming the landing light hole. My dremel has a slight wobble that was making the sanding drums wear down unevenly, so I had to keep changing them out.
The light opening is starting to look pretty good, but I still have a bit of cleanup to do.
Worked on the fuel support bracket and added in some of the cork to the tank area. I also roughly trimmed the wing tips. Then I sanded and prep a few more parts for primer and primed those this afternoon.
Started today off by working on the wing root angle. I made one crimp at a time until the curves for each piece were correct. I also bent the rear piece to match the angle of the root rib.
Then I put the top skin on and drilled the holes to the final size. There was a little bit of interference between the root top skin and the wing top skin, so I trimmed that down.
I also wrapped the nose skin and drilled those holes to the final size. I had a little trouble figuring out exactly where to drill the holes into the root nose rib; I had a little mishap and missed. I have two extra holes in the nose skin now. Oops. I'll fill those with rivets later.
Finished today by getting the root top skin l-angle curved and drilled.
Today, I finished riveting the bottom skins on the left wing. Tom helped me flip the wing over and then I started clecoing the flaperon arms and top skins on.
Finished drilling the skin to rib holes, strut angle and the strut doubler.
The strut angle was interfering with strut attachment again, so I notched that out. The strut doubler was also sitting on the skin a little bit so I filed that down too.
Spent a few hours today working on drilling holes on the bottom skin. I got all the holes in the spar and nose drilled and about half of the rib holes drilled to final size.
I torqued all the spar bolts down and installed the cable tie mounts. Then Tom & I flipped the wing over, I leveled it up, and started clecoing the bottom skins on.
Take a look at the picture below, see anything wrong with it?
I primed the wrong side of the skins! Ugh, LOL. Oh well, I'll prime the other side later.
Started today by sanding the spar and ribs (my drop cloths leave some fuzzies on the edges of parts). I also deburred the holes and then started assembling. I continued to sand fuzzies off and deburr holes as I went and I needed to file down a rib since it wasn't sitting flat against the spar. Then it was time to pull rivets!